Pages

Tuesday, January 18, 2011

Homemade Liquid Soap


I noticed that the kids have almost used all the liquid soap in their bathroom, so I had to make more over the weekend. The process took most of the day on Saturday, although it doesn't require too much "hovering" once it reaches the solid soap stage. And, I was able to make it right in my oven! I've tried to make it in my crock pot, but I ended up burning that batch and almost ruining my crock pot... that's another story.

**For those soap makers out there who have never tried making liquid soap, here is a tutorial that goes step by step: Hot Process Liquid Soap**


Here are my ingredients. I used a recipe I found on the Instructables website (as linked above).
The soap is mostly coconut oil (for lather) and olive oil (for moisture) with a little cocoa butter thrown in. I diluted mine a little more than the woman who made the Instructable because my kids tend to overuse soap, and it lathers nicely even when runny! We also use a "bubble maker" soap dispenser in one bathroom, and it works nicely with well-diluted soap.


After weighing ingredients and mixing the lye and fats to trace, I threw the soap pot into a 250F oven. This is what the soap looked like after 20 minutes. You can't see it, but the soap actually separated and I had to stir it back together.


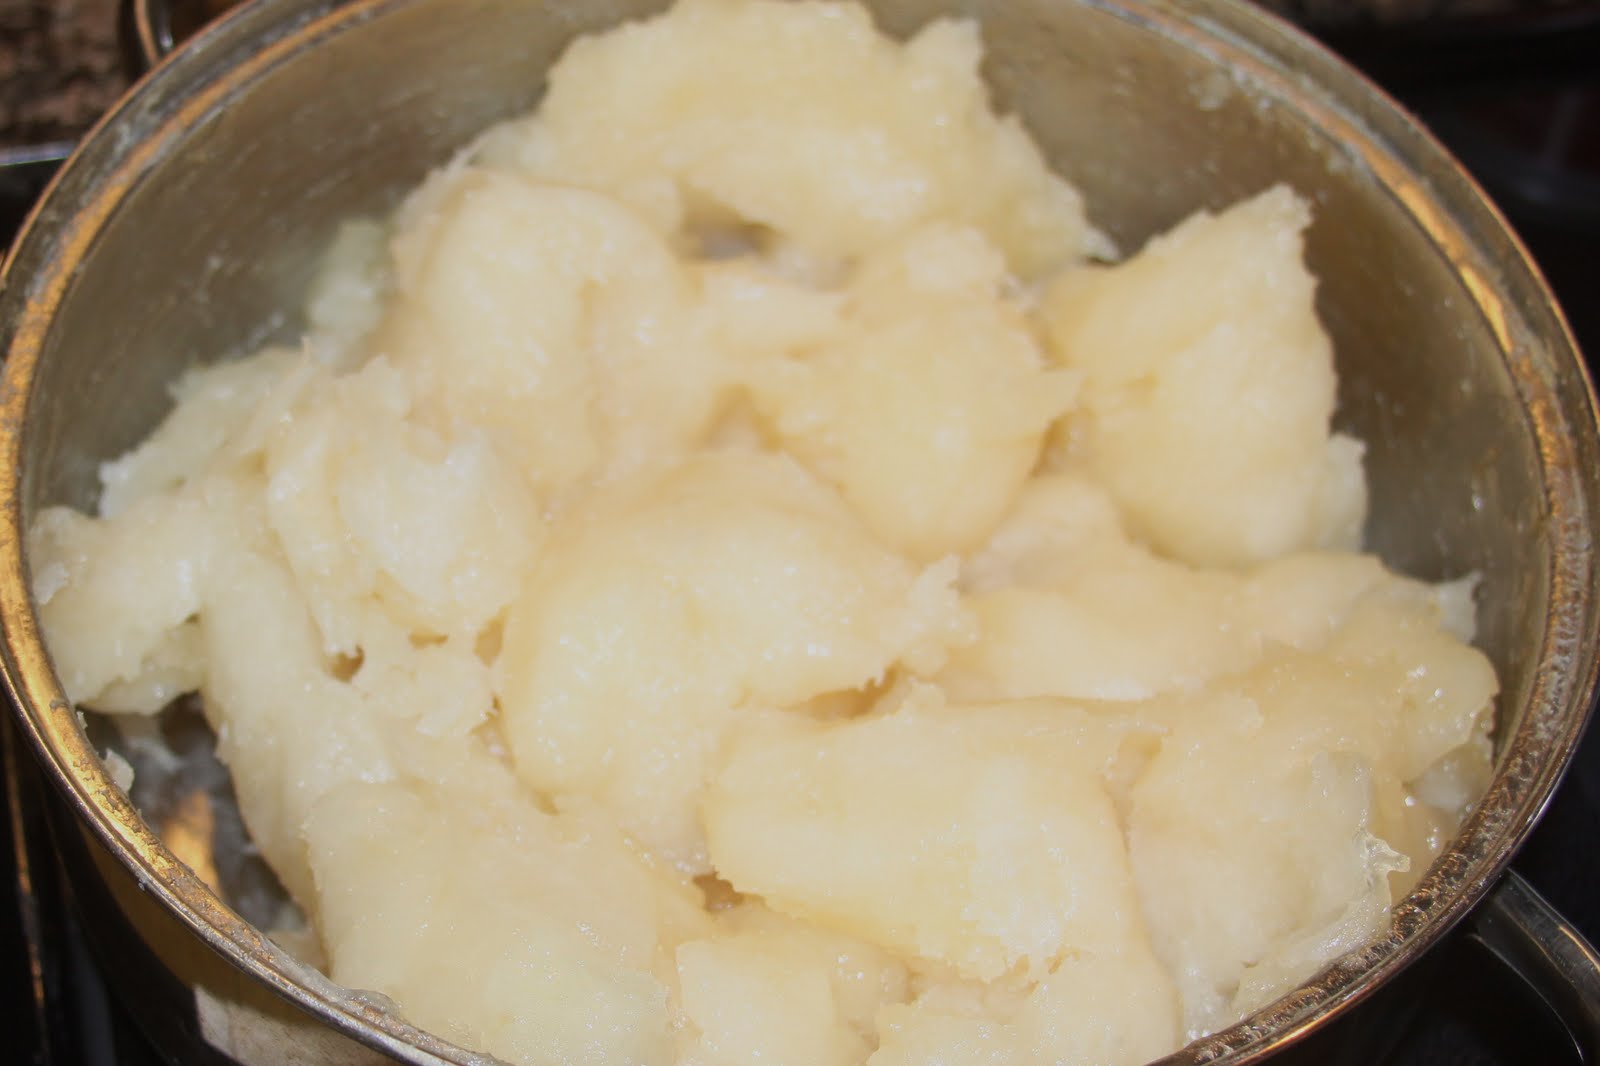
After about an hour, my soap looks a lot like runny mashed potatoes... it keeps getting thicker until it becomes solid and very hard to stir!


When it gets to this point, I just stir the best I can. The soap will start to turn translucent- the more translucent, the clearer your final product will be!


This is where I stopped. It wasn't fully translucent, but it was very late in the evening and it was done enough for me! I diluted it with a gallon of filtered water and neutralized the remaining lye with a solution of borax and hot water. As you can see from my first photo, I am stocked up on soap for months! I even use this soap to wash my dishes, as it leaves no chemical residue-as some store bought soaps do.

Thursday, January 13, 2011

Homemade Sourdough Bagels


Anyone who knows me knows that I love my bagels! When I was pregnant with my first child, my husband was forever driving to the local bakery getting me blueberry bagels and "very berry" cream cheese. Well, those bagels really helped me to pack on the pounds! I ended up gaining 65lbs that time...

Since those days, I have come to realize that sourdough is the better way to go. I don't eat bagels every day anymore, but when I do I choose sourdough! Sourdough is not only tasty, but the fermentation process that it goes through (with NO added commercial yeast) makes it more digestible than store-bought bread. Trust me- you will not find true sourdough at the grocery store. Just look at the ingredients! If it has yeast in it, it ain't true sourdough.

With that in mind, here's a great recipe for homemade bagels (the sourdough variety, of course!). I found a lovely recipe on an Australian website, and I changed a few amounts/ingredients to make it my own...

For 11 good-sized bagels:

about 3 cups sourdough starter
3/4 c water
4 1/3 c flour
2 3/4 T coconut oil
2 T organic sugar
1 1/8 T salt

Mix all ingredients together, knead until elastic (this will be a stiff dough).

Let rise in a covered bowl for 4 hours.

Divide up dough and form bagels on greased cookie sheets (I used coconut oil on 2 sheets)

Cover sheets with plastic wrap and store in fridge overnight.

**Next Day**

Pre-heat oven to 400F

Let dough warm on counter while you bring about 4 quarts water and 2 T sugar to a boil.

When water boils, drop in bagels two at a time and cook for 1 minute. Flip once. (At this point, you can dip them in your favorite topping.)

As bagels are done boiling, place them back on the cookie sheets.

Bake bagels for about 20 minutes, or until browned.

These goodies are perfect for a quick breakfast- toasted and with lots of butter! You can even freeze them for future use. Enjoy!!

Monday, January 10, 2011

Too Much Mayo?

Okay, now that you know a great recipe for mayonnaise, what are you going to do with it? Since the kids and I are home for lunch 7 days a week, it's not hard for us to lick the jar clean before it goes bad. But, if you're like most people, eating at home is not in the cards during the week...

Here are a couple of scrumptious solutions for using up that mayo quickly.

1. Homemade Ranch Dressing

1 cup mayo
1/2 c cultured buttermilk
1/2 t (or more) each, dried chives, dried parsley, dried dill weed
1/4 t (or more) each, garlic powder, onion powder
1/8 t each, sea salt and freshly-ground peppercorns

Mix all ingredients in a glass jar, then cover and refrigerate at least an hour. This is great served with a veggie tray!

2. Homemade Potato Salad- this is a family recipe, and soooo yummy!

5-6 medium potatoes, cubed and cooked until soft
4 eggs, boiled and chopped
1/3 c chopped chives
1/3 c chopped green olives (with or without pimentos)
1/3 c chopped pickles (sweet or dill or a mix)
1 c mayo (or more, if desired)
squirt of mustard
salt and pepper to taste

Mix all ingredients in a large bowl.
This dish is great when hot on sprouted crackers. It's also yummy when cold!

Sunday, January 9, 2011

Homemade Mayo

Have you ever looked at the ingredients list on a jar of store-bought mayonnaise? I was surprised to find that some of them (such as the "light" and "olive oil" varieties) actually label some ingredients as "not usually found in mayonnaise"... I feel the correct label would be "not usually found in food"! If you want a real, nutritious mayonnaise, you're going to have to make it yourself. Here is an easy-peasy recipe that I highly recommend:


1 egg + 1 egg yolk (farm fresh, pastured eggs are the best)
1 t Dijon mustard
pinch of salt- I use Redmond's Real Salt available at health food stores
1 T apple cider vinegar (or lemon juice)- I use Bragg's Organic, raw vinegar from Publix
1 c light-tasting olive oil (or a mixture of olive oil and sunflower oil)


Put all ingredients except oil into a small food processor and blend. While blending, add your oil by drips- my processor has small openings at the top into which I pour the oil slowly. As soon as all the oil is incorporated, stop blending. Easy-peasy, right?!


Here's the finished product. It took me less than 2 minutes from start to finish to make a jar of mayonnaise that will last for about a week and a half. My boys looove their mayo. You can see by this picture just how creamy and thick it came out.


My sons wanted poor-boys for lunch. Ham, mustard, cheese and homemade mayo makes for a de-licious sandwich! Let me know what you think of homemade versus store-bought. I think you'll be surprised how good homemade can be.