Pages

Saturday, January 29, 2011

Homemade Stevia Extract

In his book, Healing with Whole Foods, Paul Pitchford warns, "Obtain only the green or black (whole) stevia extracts or powders; avoid the clear extracts or white powders, which, highly refined and lacking essential phyto-nutrients, cause imbalance."


Stevia is a miracle of natural sweeteners. While it is 30-300 times as sweet as granulated cane sugar, it has NO calories and is safe for diabetics! If extracted correctly, there is very little to no aftertaste and it can be stored in your refrigerator for up to three months.

When choosing an herbal extract at the store, observe the color of the extract. Good quality extracts will be from green to almost black in color, and they will be packaged in dark-colored glass bottles. As mentioned above, do not buy refined stevia- clear extracts and white powder stevia have been refined. It is hard to tell the age of an extract, except by the expiration date on the bottle. For this reason, I like to make my own, fresh extracts!

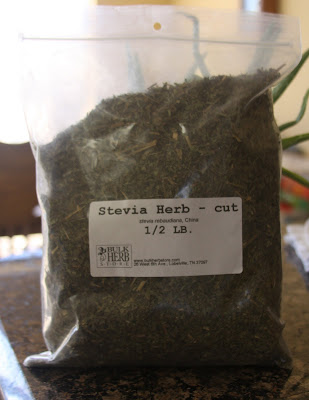
I got a bag of dried, organic stevia from my favorite online herb store (http://www.bulkherbstore.com) a while back, and I meant to do something with it... why not now!?
For those of you who followed my other blog, you know that I have made extracts from medicinal herbs. They usually take 3 weeks to reach full extraction. Since I am only extracting the sweetness factor (and NOT the medicinal properties) of the stevia, it will take much less time! You will only need to dedicate about 2 days from start to finish.

What you will need:

clear alcohol (eg. rum, grain alcohol or vodka)
1 jar with a tight-fitting top
dried stevia herb
cloth or coffee filter
small-med. cooking pot


1. Fill your jar about 1/3 of the way with dried stevia. The size of the jar doesn't matter!

2. Fill your jar to within about 1"-2" from the top with whatever alcohol you have chosen.

3. Screw on the top and shake, then leave the jar on the counter in your kitchen.

4. Agitate the jar several times over a 48 hour period. Every time you walk by, give it a shake!

5. Filter your extract through a cloth or coffee filter into a cooking pot.

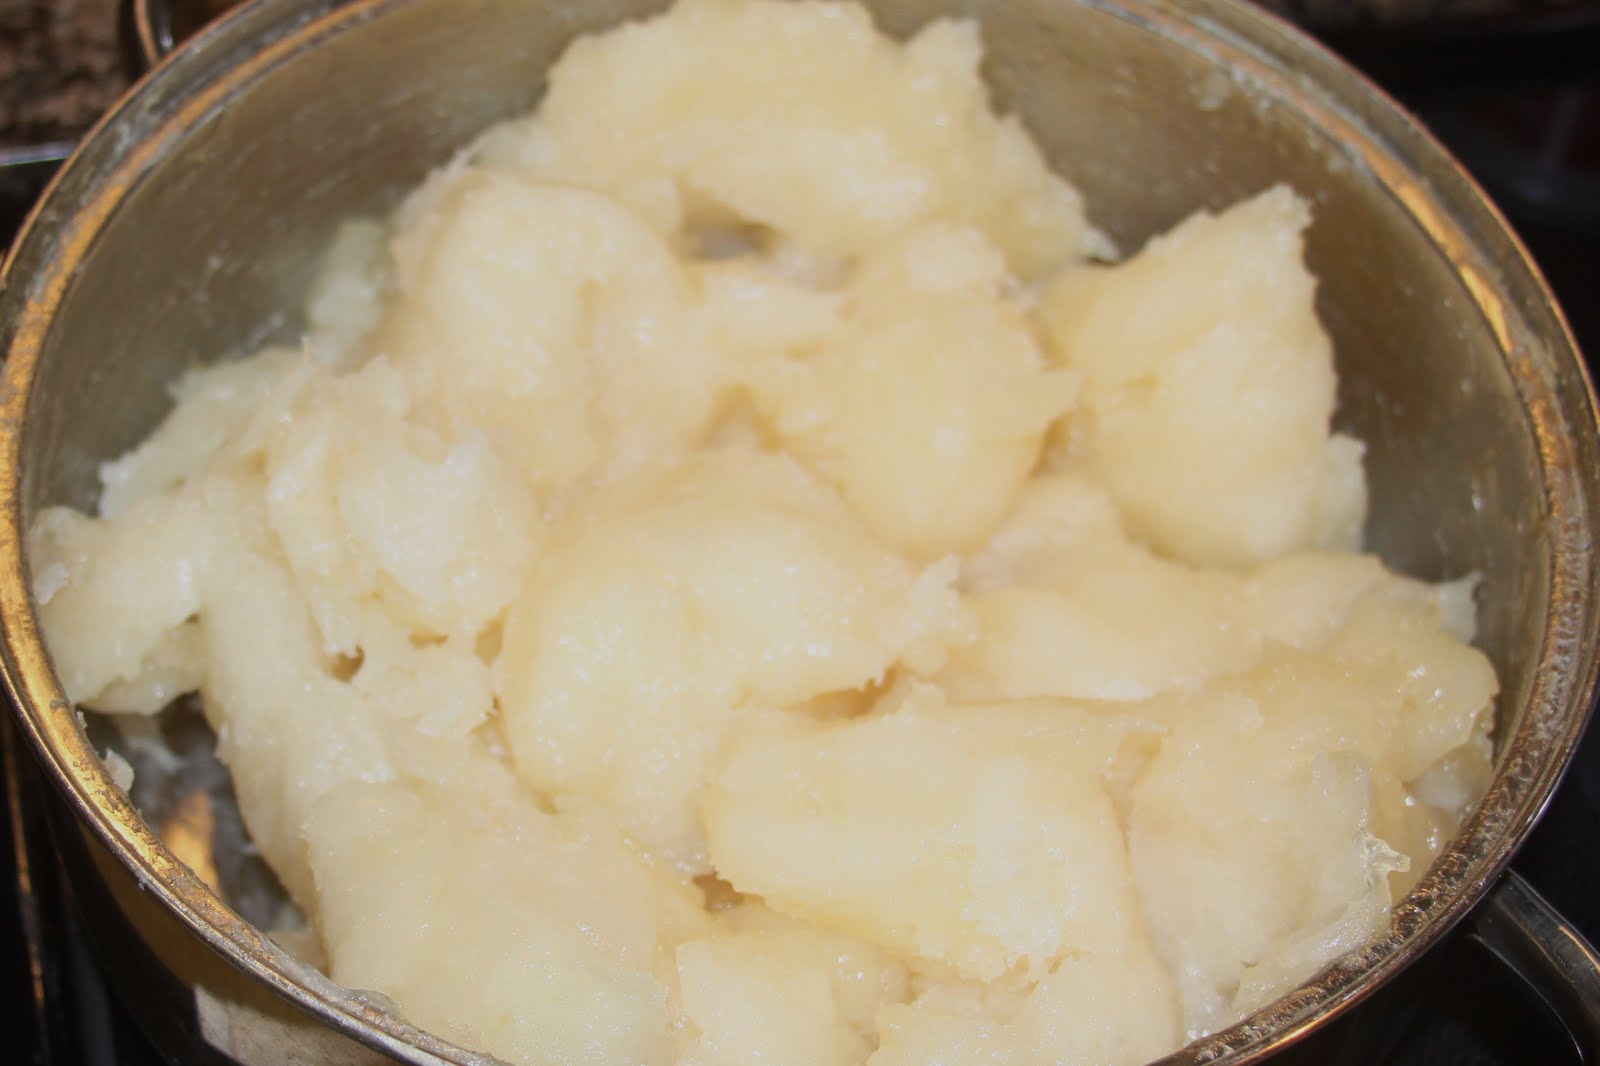
6. Bring your extract to a simmer for about 30 minutes. This will boil off the alcohol and condense the sweetener.

7. Store your extract in the refrigerator for up to 3 months!


My final product was almost black, with a green tint to it. Total time spent on this extract was: 48 hours on the counter + 30 minutes simmering, and it will last for 3 months stored in the fridge!

Be sure to test your extract to see how much you will need for coffee/tea. Start with small portions (use an eye dropper- you can find them in the pharmacy), as 1t stevia extract =1 cup granulated sugar in concentrated amounts!

Wednesday, January 26, 2011

Homemade Hair Detangler

My oldest daughter used to have hair down to her bottom, and boy was it hard to keep neat! It didn't help that she didn't like having her hair brushed. We got store-bought detangler and it worked, but I didn't like the ingredient list one bit. Really, there was more than one ingredient I couldn't even pronounce! I was inspired to make my own detangler when I came across an herbal product online called "Hair Shine" by http://www.beeyoutiful.com/ ...


In my homemade detangler, I use:
2 oz aloe gel (try to find the purest aloe you can- NOT the green aloe for sunburns.)
5 oz distilled water
20 drops orange essential oil
20 drops lavender essential oil
8-10 drops rosemary essential oil
4 drops grapefruit seed extract (optional- for freshness)
I re-used an old detangler spray bottle (I've used the one in the picture for about 3 years!) to mix all the ingredients together. This concoction is best when used on dry hair, in between washings. Shake well before use :)

Friday, January 21, 2011

Homemade Sunscreen

We are having a homeschool field trip to Sanibel Island this week, and I noticed that we have used up all of our sunscreen. Although some sun exposure is good for your vitamin D levels, spending all day at the beach with no sun protection is a sunburn waiting to happen.

Drugstore sunscreen is no longer allowed in my home because of the chemicals used in them. These chemicals actually penetrate your bloodstream and flow through your body- I would rather use a sunscreen that protects my kids from the outside.


Here are the ingredients for my homemade sunscreen:

48 g liquid oil (I use either sweet almond or olive oil)
52 g coconut oil
20 g emulsifier (this is to mix the water and oil)
10 g stearic acid (this is a thickening agent)
380 g water
35 g zinc oxide- at this amount, the sunscreen will be approx. SPF 20
10-20 drops essential oil (NOT sweet orange, which can make your skin sensitive to sunlight.)


Heat all ingredients except zinc oxide and essential oil in a stainless steel pan until hot but not boiling. Then, mix with a stick blender until everything is incorporated and creamy- be careful as this mixture will be hot. Once it is mixed, you can add your zinc oxide and mix again with the stick blender. If you are adding essential oils, wait until the mixture has cooled to add them.


Here is the finished product! It is thick and looks a lot like store-bought sunscreen. This is not completely waterproof, so re-apply after swimming!


I put my sunscreen in a recycled lotion bottle with a pump. This makes it easier for the kids to re-apply themselves!

Tuesday, January 18, 2011

Homemade Liquid Soap


I noticed that the kids have almost used all the liquid soap in their bathroom, so I had to make more over the weekend. The process took most of the day on Saturday, although it doesn't require too much "hovering" once it reaches the solid soap stage. And, I was able to make it right in my oven! I've tried to make it in my crock pot, but I ended up burning that batch and almost ruining my crock pot... that's another story.

**For those soap makers out there who have never tried making liquid soap, here is a tutorial that goes step by step: Hot Process Liquid Soap**


Here are my ingredients. I used a recipe I found on the Instructables website (as linked above).
The soap is mostly coconut oil (for lather) and olive oil (for moisture) with a little cocoa butter thrown in. I diluted mine a little more than the woman who made the Instructable because my kids tend to overuse soap, and it lathers nicely even when runny! We also use a "bubble maker" soap dispenser in one bathroom, and it works nicely with well-diluted soap.


After weighing ingredients and mixing the lye and fats to trace, I threw the soap pot into a 250F oven. This is what the soap looked like after 20 minutes. You can't see it, but the soap actually separated and I had to stir it back together.


After about an hour, my soap looks a lot like runny mashed potatoes... it keeps getting thicker until it becomes solid and very hard to stir!


When it gets to this point, I just stir the best I can. The soap will start to turn translucent- the more translucent, the clearer your final product will be!


This is where I stopped. It wasn't fully translucent, but it was very late in the evening and it was done enough for me! I diluted it with a gallon of filtered water and neutralized the remaining lye with a solution of borax and hot water. As you can see from my first photo, I am stocked up on soap for months! I even use this soap to wash my dishes, as it leaves no chemical residue-as some store bought soaps do.

Thursday, January 13, 2011

Homemade Sourdough Bagels


Anyone who knows me knows that I love my bagels! When I was pregnant with my first child, my husband was forever driving to the local bakery getting me blueberry bagels and "very berry" cream cheese. Well, those bagels really helped me to pack on the pounds! I ended up gaining 65lbs that time...

Since those days, I have come to realize that sourdough is the better way to go. I don't eat bagels every day anymore, but when I do I choose sourdough! Sourdough is not only tasty, but the fermentation process that it goes through (with NO added commercial yeast) makes it more digestible than store-bought bread. Trust me- you will not find true sourdough at the grocery store. Just look at the ingredients! If it has yeast in it, it ain't true sourdough.

With that in mind, here's a great recipe for homemade bagels (the sourdough variety, of course!). I found a lovely recipe on an Australian website, and I changed a few amounts/ingredients to make it my own...

For 11 good-sized bagels:

about 3 cups sourdough starter
3/4 c water
4 1/3 c flour
2 3/4 T coconut oil
2 T organic sugar
1 1/8 T salt

Mix all ingredients together, knead until elastic (this will be a stiff dough).

Let rise in a covered bowl for 4 hours.

Divide up dough and form bagels on greased cookie sheets (I used coconut oil on 2 sheets)

Cover sheets with plastic wrap and store in fridge overnight.

**Next Day**

Pre-heat oven to 400F

Let dough warm on counter while you bring about 4 quarts water and 2 T sugar to a boil.

When water boils, drop in bagels two at a time and cook for 1 minute. Flip once. (At this point, you can dip them in your favorite topping.)

As bagels are done boiling, place them back on the cookie sheets.

Bake bagels for about 20 minutes, or until browned.

These goodies are perfect for a quick breakfast- toasted and with lots of butter! You can even freeze them for future use. Enjoy!!

Monday, January 10, 2011

Too Much Mayo?

Okay, now that you know a great recipe for mayonnaise, what are you going to do with it? Since the kids and I are home for lunch 7 days a week, it's not hard for us to lick the jar clean before it goes bad. But, if you're like most people, eating at home is not in the cards during the week...

Here are a couple of scrumptious solutions for using up that mayo quickly.

1. Homemade Ranch Dressing

1 cup mayo
1/2 c cultured buttermilk
1/2 t (or more) each, dried chives, dried parsley, dried dill weed
1/4 t (or more) each, garlic powder, onion powder
1/8 t each, sea salt and freshly-ground peppercorns

Mix all ingredients in a glass jar, then cover and refrigerate at least an hour. This is great served with a veggie tray!

2. Homemade Potato Salad- this is a family recipe, and soooo yummy!

5-6 medium potatoes, cubed and cooked until soft
4 eggs, boiled and chopped
1/3 c chopped chives
1/3 c chopped green olives (with or without pimentos)
1/3 c chopped pickles (sweet or dill or a mix)
1 c mayo (or more, if desired)
squirt of mustard
salt and pepper to taste

Mix all ingredients in a large bowl.
This dish is great when hot on sprouted crackers. It's also yummy when cold!

Sunday, January 9, 2011

Homemade Mayo

Have you ever looked at the ingredients list on a jar of store-bought mayonnaise? I was surprised to find that some of them (such as the "light" and "olive oil" varieties) actually label some ingredients as "not usually found in mayonnaise"... I feel the correct label would be "not usually found in food"! If you want a real, nutritious mayonnaise, you're going to have to make it yourself. Here is an easy-peasy recipe that I highly recommend:


1 egg + 1 egg yolk (farm fresh, pastured eggs are the best)
1 t Dijon mustard
pinch of salt- I use Redmond's Real Salt available at health food stores
1 T apple cider vinegar (or lemon juice)- I use Bragg's Organic, raw vinegar from Publix
1 c light-tasting olive oil (or a mixture of olive oil and sunflower oil)


Put all ingredients except oil into a small food processor and blend. While blending, add your oil by drips- my processor has small openings at the top into which I pour the oil slowly. As soon as all the oil is incorporated, stop blending. Easy-peasy, right?!


Here's the finished product. It took me less than 2 minutes from start to finish to make a jar of mayonnaise that will last for about a week and a half. My boys looove their mayo. You can see by this picture just how creamy and thick it came out.


My sons wanted poor-boys for lunch. Ham, mustard, cheese and homemade mayo makes for a de-licious sandwich! Let me know what you think of homemade versus store-bought. I think you'll be surprised how good homemade can be.